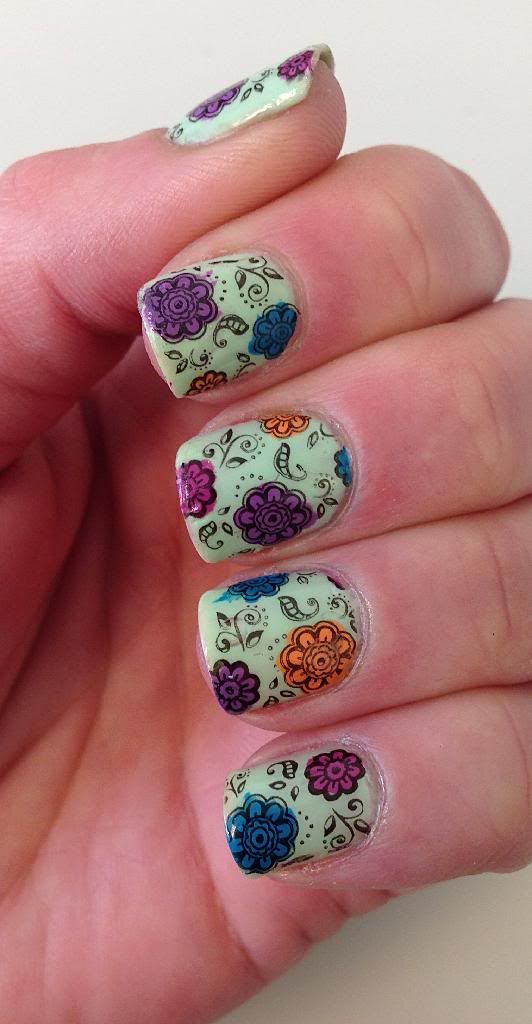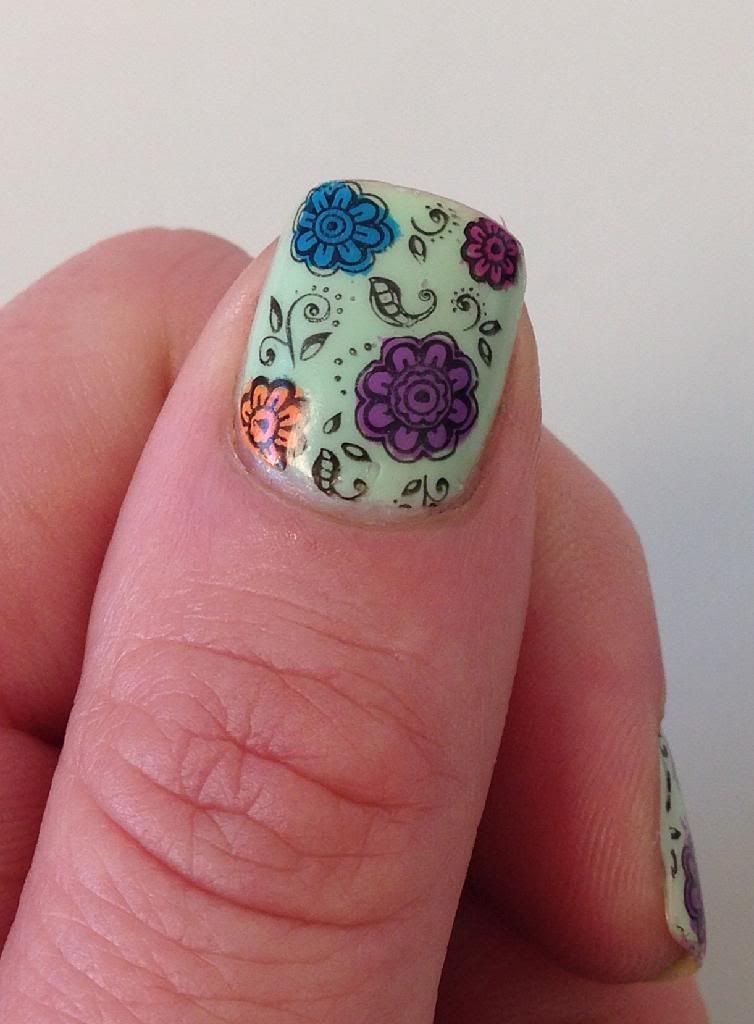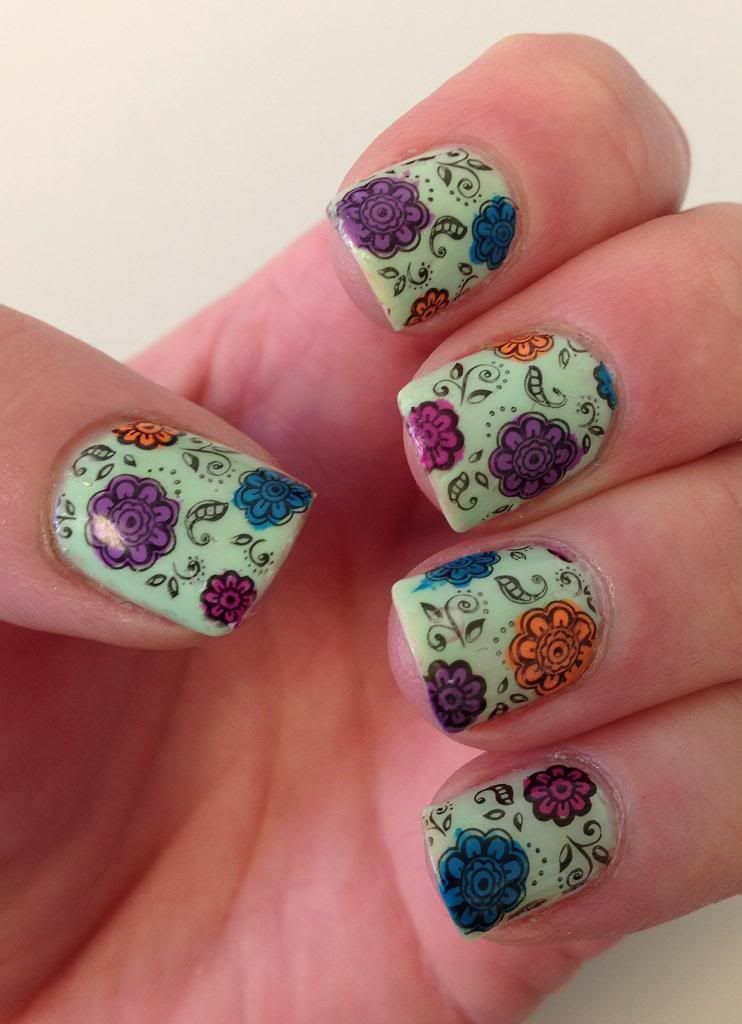
This is three coats of OPI Gargantuan Green Grape, topped with my decals, then a final coat of Seche Vite to stick everything down. The Gargantuan Green Grape is a beautiful light green, but was a bit more sheer than I would have liked. Needing three coats meant that this mani got a little thick with the base color plus the decals. Still, a pretty color!
I made the decals by painting a layer of clear polish (Sally Hansen Diamond Strength Flawless) onto a plastic bag, in patches a bit bigger than my nails, and letting it completely dry. Then I stamped the flower design from the Konad M-64 plate onto the patches of clear polish. Then I could color! I used four colors of SH Insta-Dri to fill in the flowers: Dreamsicle, Brisk Blue, Love Train, and Purpelling (orange, blue, pink, and lavender). Then I waited for that to dry, and painted another layer of the clear over it all.
Then I waited for that to dry.
Then I waited some more, because when I tried to peel up the first one, the colors were still wet and it smudged... oops.
But finally I got each one onto a nail, trimmed down a bit, and melted in with a coat of Seche Vite. A little cleanup with acetone, and voila!

This is a really cool technique, but it does take a long time. In the future, it may be worth planning ahead and making the decals the day before so they can dry overnight and be ready to just peel and topcoat. Although I wouldn't want them to dry out so much that they were crispy.
I really like the way this mani looks. And now I can say I did it!

No comments:
Post a Comment